Introduction
We all know how tempting it is to “just check the timer” on your phone during a reading or crafting session… and five minutes later, you’re lost in social media. The Pomodoro technique is one of the most effective methods to maintain deep focus, but relying on a phone timer often defeats its purpose because of constant notifications and digital distractions.
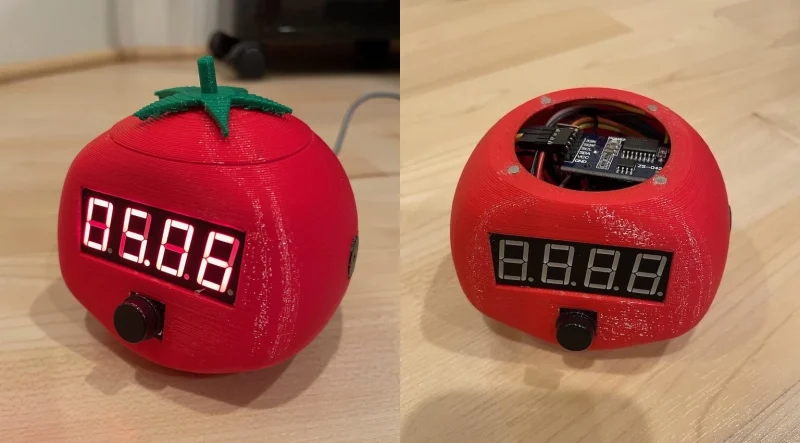
That’s why in this tutorial, we’ll build a ESP32 Pomodoro Timer with a colorful LED matrix display. The ESP32 microcontroller handles precise timing logic (25-minute work intervals and 5-minute breaks by default) while driving the LED matrix (MAX7219 or WS2812). Instead of buzzing alarms or distracting phone notifications, this Pomodoro Timer with ESP32 uses ambient visual cues such as glowing pixel art, countdown progress bars, smooth animations, and subtle color transitions. These non-intrusive signals let you know when it’s time to work or rest without breaking your concentration.
We’ll cover everything from hardware setup (ESP32 development board, LED matrix wiring, and power management) to software implementation (Arduino IDE/PlatformIO, libraries like FastLED or MD_Parola, and non-blocking timing with millis()). You’ll even learn how to customize session durations, LED colors, and animation patterns to suit your workflow.
By the end of this project, you’ll have a wall-mounted or desk-friendly Pomodoro Timer — a distraction-free focus companion that helps you read more, create more, and scroll less, all while showcasing the versatility of the ESP32 and LED matrix.

The Pomodoro Technique breaks work into short, focused intervals (usually 25 minutes) separated by brief breaks. This simple method boosts concentration, reduces fatigue, and helps you complete tasks efficiently.
🛒 Components Required
Get the parts to build this project:
-
ESP32 DevKit V1 (or similar ESP32 board)
-
8×32 or 16×16 RGB LED Matrix (WS2812B or HUB75-type)
-
Buzzer or Piezo Speaker (for soft alerts)
-
Push Buttons (x3) → Start, Stop, Reset
-
3D-printed or wooden enclosure (optional, for aesthetics)
-
5V 3A or Power Supply Module (LEDs consume a lot when bright)
-
Wires + breadboard or PCB
System Design of ESP32 Pomodoro
Here’s how the different parts of the Pomodoro Timer work together, with the ESP32 as the brain coordinating the display, sounds, and controls.
-
ESP32 as Brain: Handles timing logic, button inputs, and animations.
-
LED Matrix: Displays time left, Pomodoro stage (focus or break), and pixel animations.
-
Buzzer: Gentle sound cue at transitions.
-
Buttons: Control cycle manually (Start, Reset, Skip break).
Pomodoro cycle:
-
25 minutes focus → book icon animation
-
5 minutes break → coffee/relax animation
-
Repeat 4 times → longer 15-minute break
Step 1: ESP32 Pomodoro Timer Circuit Wiring
Let’s start by wiring the ESP32 and other components to bring your distraction-free Pomodoro Timer to life.
-
Connect WS2812B LED Matrix data pin → ESP32 GPIO 5 (or any supported pin).
-
Add a 330Ω resistor in series with the data line (recommended for stability).
-
Add a 1000 µF capacitor across +5V and GND near the LED matrix.
-
Push Buttons → GPIO pins with internal pull-ups enabled.
-
Buzzer → GPIO pin with transistor driver (or direct if passive piezo).
Step 2: Arduino Libraries Needed for ESP32-powered Pomodoro
To get your ESP32 Pomodoro Timer working, you’ll need to install a few Arduino libraries that make it easier to control the display, keep time, and connect features together.
In Arduino IDE / PlatformIO, install:
-
Adafruit_NeoPixel (or FastLED) → for WS2812B LED matrix
-
ArduinoJson (optional if adding config files)
-
Ticker / millis() → for non-blocking timer logic
Step 3: ESP32 Pomodoro Core Code
Here’s a simplified version:
|
|
This is the basic logic. You can enhance it with:
-
Pixel art icons for “focus mode” (📖 book) and “break mode” (☕ coffee).
-
Countdown progress bar around the matrix edges.
-
Custom animations (twinkling LEDs as break reward).
Step 4: Adding Humanized Features to LED matrix Pomodoro
To make the timer feel friendly and less robotic, add:
-
Ambient animations instead of harsh numbers → helps avoid stress.
-
Soft fade-in buzzer → not jarring like a phone alarm.
-
Motivational messages (stored in flash) → scroll across the matrix between cycles. Example: “Great job! Time for a short break.”
Step 5: Advanced Optional Features for ESP32 Pomodoro
Once your basic ESP32 Pomodoro Timer is running, you can add some advanced features like Wi-Fi syncing, smart sensors, and app control to make it even more powerful.
-
Wi-Fi Sync → log your Pomodoro sessions to Google Sheets or a custom dashboard.
-
NTP Clock → auto-adjust time for scheduled study/craft sessions.
-
RFID/Book sensor → timer starts automatically when you pick up a book.
-
BLE App Control → change focus/break lengths from a smartphone (without distractions).
Why ESP32 Pomodoro Helps Reduce Phone Use?
-
No need for phone timers → removes temptation.
-
Visual + ambient cues → you always know your focus state at a glance.
-
Gamified feel → animations and streaks make it fun to keep going.
This little ESP32 project helps shift your habits from digital distraction toward real-world focus and creativity.
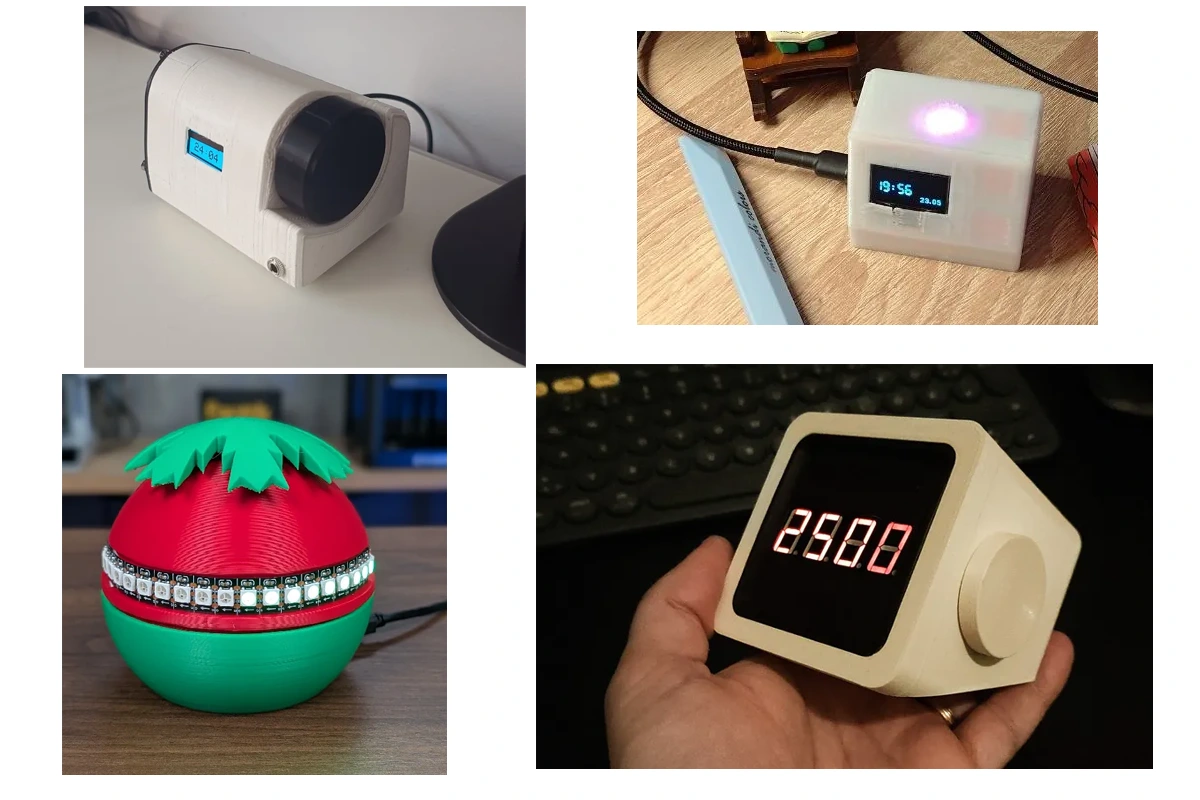
Final Result
Instead of depending on your phone, you’ll have a dedicated desk gadget that gently guides your focus sessions. The glowing matrix creates a ritual of focus — when the book icon lights up, it’s time to read; when the coffee icon appears, you deserve a break.
FAQ:
-
How can I use an ESP32 and LED matrix to build a distraction-free Pomodoro timer?
Build a distraction-free ESP32 Pomodoro timer by using an LED matrix to show focus and break intervals. The ESP32 handles timing logic, while the matrix displays simple progress cues like bars, dots, or colors without screen distractions. You’ll need an ESP32 board, LED matrix (MAX7219 or WS2812), power supply, and Arduino IDE or PlatformIO.
-
What are the advantages of using an LED matrix instead of a display screen for a Pomodoro timer?
Using an LED matrix provides a minimal and distraction-free interface, unlike traditional screens that can tempt users to check notifications. The matrix can use simple patterns, colors, or animations to indicate the timer’s status. For example The timer uses red LEDs for focus sessions, green LEDs for breaks, and fading or blinking effects to signal time warnings.
-
What software libraries are needed to program an ESP32 Pomodoro timer with an LED matrix?
The required libraries depend on the LED matrix type:
– For MAX7219-based LED matrices: Use theMD_ParolaandMD_MAX72XXlibraries for text scrolling and animations.
– For WS2812/NeoPixel matrices: Use theAdafruit NeoPixelorFastLEDlibrary for flexible color and pattern control.
– For timing logic: UseArduinoTimeror simplemillis()functions to avoid blocking delays.